Testing and sending your newsletter
How to test and send your newsletter. What possible hosting restrictions to be aware of when sending large amounts of emails.
Before sending your newsletter to your subscribers make sure to test the layout on as many different devices and email clients as possible. If your newsletter is not displaying well you will not be successful.
The testing and sending of the batch of emails are exactly the same except for the last screen where you configure the application to do the actual sending.
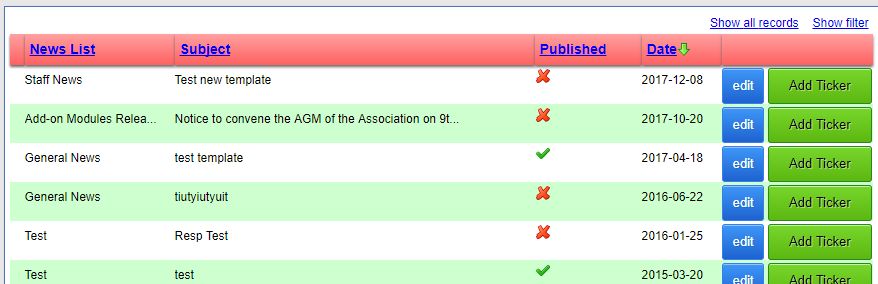
- Select your newsletter from the list and click “edit”
- Scroll down to the bottom and select the subscriber list from the drop-down and click “Preview and Send”
Note: You do not want to send a newsletter to the “All Registered Members” list unless you have a very good reason for that. The reason is that that list will send the newsletter to everyone, including those that opted out from receiving your newsletter. Sending to those will most probably get you reported for spam. 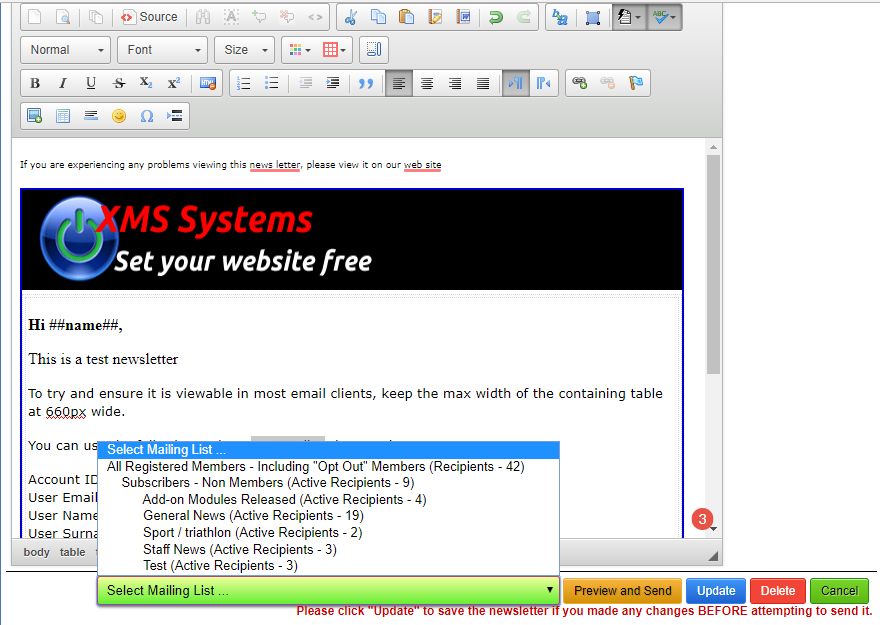
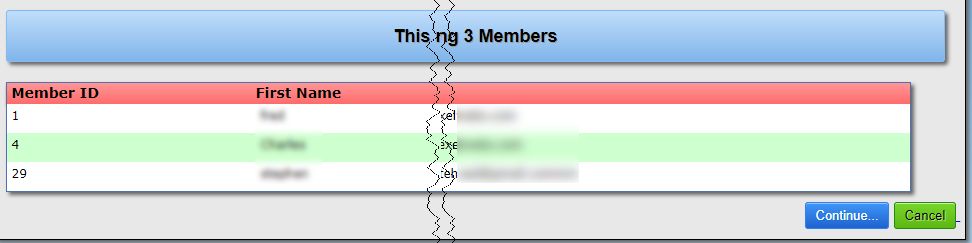
- Verify the number of recipients. If you are resending a newsletter, the programme will check who already received a copy and not that those recipients to the list.
- Configure the “sender”

Starting at the top of the page...:- The number of newsletters to be sent
- Select from the drop-down after how many recipients the programme needs to pause for one minute before resuming the send.
This is important to avoid possible problems. Users that repeatedly abuse the program will be expected to purchase their own IP address to avoid other users on the server from having problems if you cause the IP address to be blacklisted. If you have to send more than 600 messages per hour on your hosting account we strongly suggest you invest in a Virtual Private Server (VPS) to allow you to do whatever you want. This will give you a lot more resources and the freedom to send as many emails per hour as you wish. - From: is your default email address as defined in your website configuration.
- Name: Is the name of your company as defined in your website configuration
- To: is a variable ##email##. This will be dynamically replaced with the recipient's email address during sending.
Testing your Newsletter
Tick the “Send Test Newsletter” box and replace the ##email## with the email address you want to send the test newsletter to. Click send to send the test newsletter.
If you accidentally changed any information and can’t remember what should be in the field, scroll down to the bottom of the page and tick the “Reset Editor” box and click reset to reset everything back to the default settings. Remember to delete the batch after testing and before sending the final batch (see next article) - Validate will attempt to make sure the recipient email address is valid before sending
- Subject: Will be set as per your newsletter subject line
- Encoding: Leave as is or change as required.
- Personalization: This will allow you to insert any of the specified variables into the newsletter. While in “design view”, click where you want to insert the variable and select from the drop-down, followed by a click of the “insert” button.
- Once you are happy with everything, click the “Send” button to start the sending process.
- Check the send process
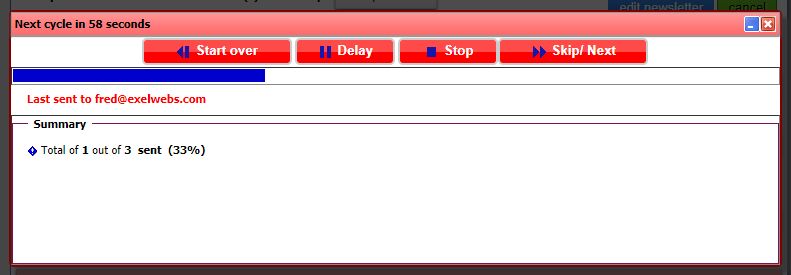
- At the top, you will see the time till the next number of newsletters will be sent
- You have a couple of buttons to control the process. You will most probably never need to use any of them
- Next, you will see a graphical indication of the duration of the total number of emails that will be sent
- followed by the last recipient and
- a summary of the batch sent so far
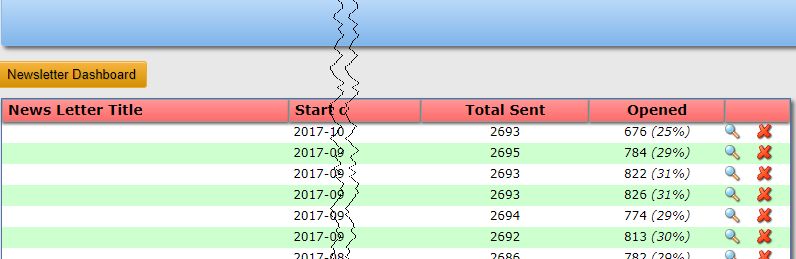
- On completion of the sending process, you will receive a notification and be redirected to the “Newsletter stats” page.
- Sending to more than one news list. If you want to send the same newsletter to one of the other news lists (e.g. Subscribers – Non-Members), go back to step 2 and select the appropriate list and continue with the sending process.
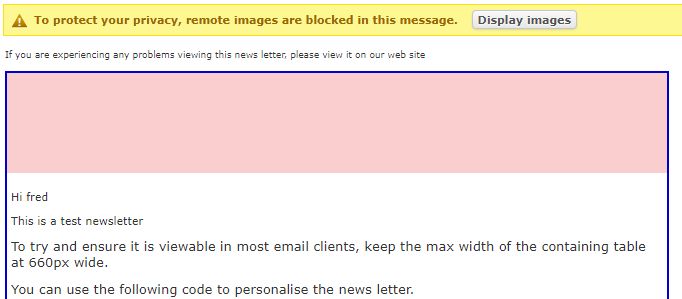
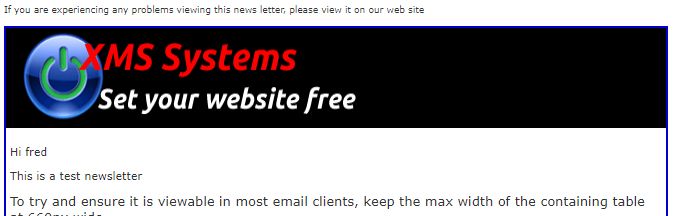
What will my newsletter look like?
- In an email client that does not download images by default
- With images displayed
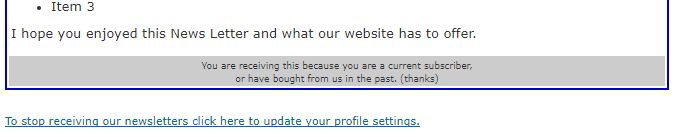
- Unsubscribe link in the footer of the newsletter