Enabling Social Networking buttons in XMS Systems
How to enable my social networking buttons on my XMS Systems based website?
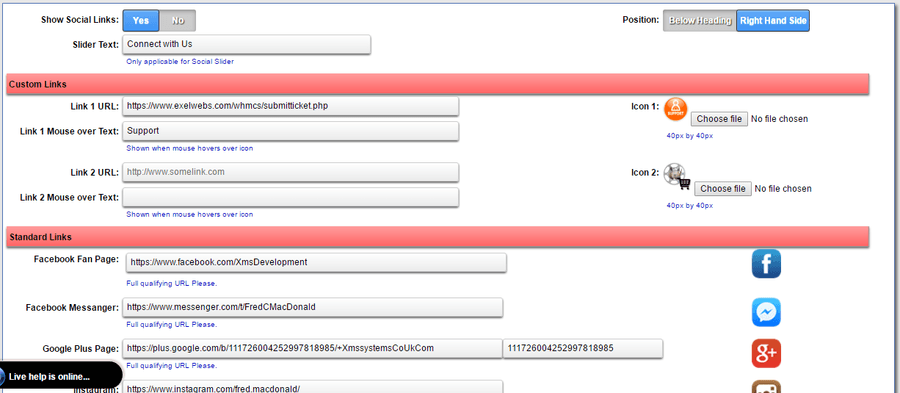
Log in and navigate to Admin > Site Dashboard > Website Configuration > Social Networking > Social Links.

Starting at the top of the image…
- Show Social Links
Instantly “show” or “hide” all the buttons - Position
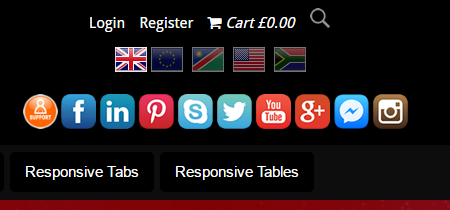
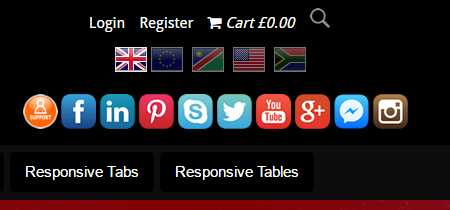
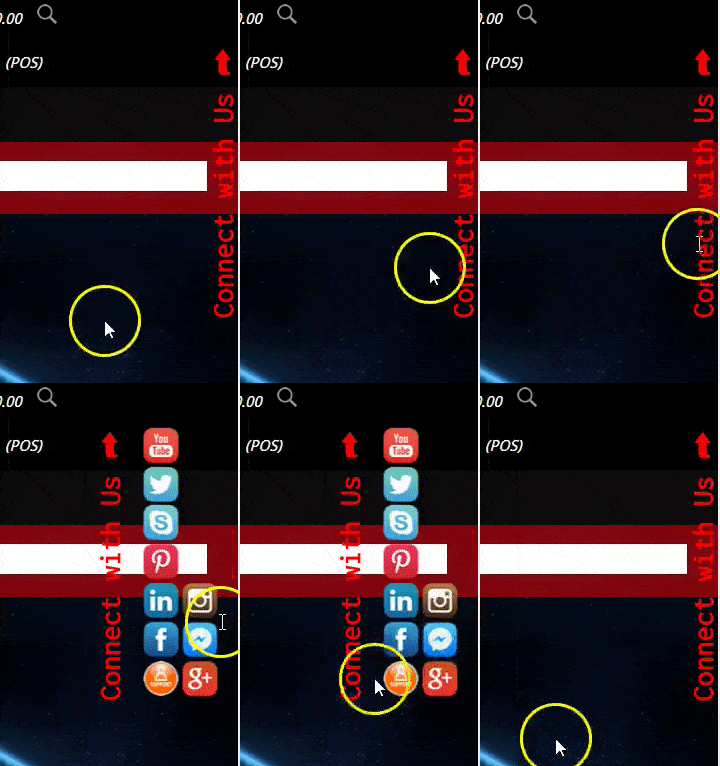
Not all websites are created equal and therefor shouldn’t look the same You have two options where to position your buttons.- Below the heading

- Hidden and Sliding in from the right hand side of the page. These buttons are “sticky” and will always be within reach

- Custom Links
If the standard buttons are not enough, you can add two custom buttons.- Paste the url to the page you want to link to.
- Enter the text that needs to be displayed when the user hovers over the icon
- Upload an image to be used. We suggest to use square buttons to make sure it fits in with the rest.
- Standard Links
Simply copy and paste the full url into the relevant field.
The only button that needs special attention here (if required) is the Google+ button. If you want to enable the “One Post Button to Google+” for your articles and the rest, you will need to enter your Google+ page id in here. - Update Social Links
Scroll down to the bottom of the page to save/update your links.
- Below the heading
