
Configuring Disqus commenting platform with XMS Systems
Discussing how to enable comments in the Article/Blog, e-commerce and tour modules
Comments are powered by Disqus and you need to register your own account and complete the simple integration.
The reason why we chose to use Disqus is because it allows your visitors to comment using the following social networking accounts.
- Disqus
- Guest Accounts
Not everyone in the world has a facebook account so Disqus allows “guests” to comment as well as long as you enable it in your Disqus account.
Register a Disqus account.
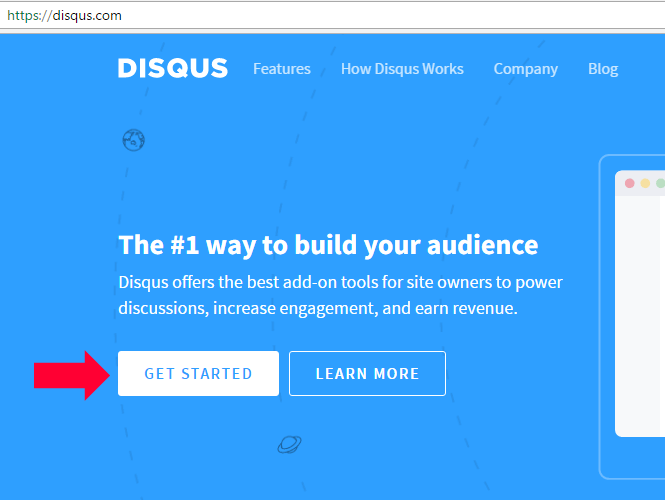
Step 1
Navigate to https://disqus.com/
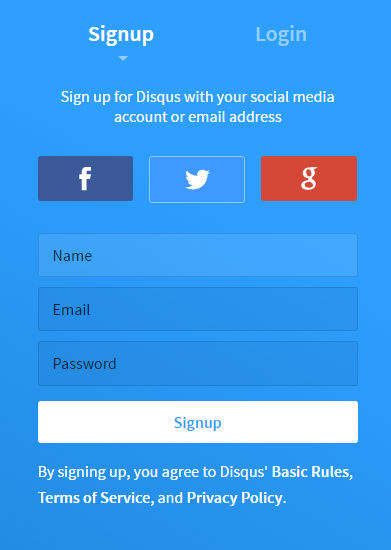
Step 2
Create an account
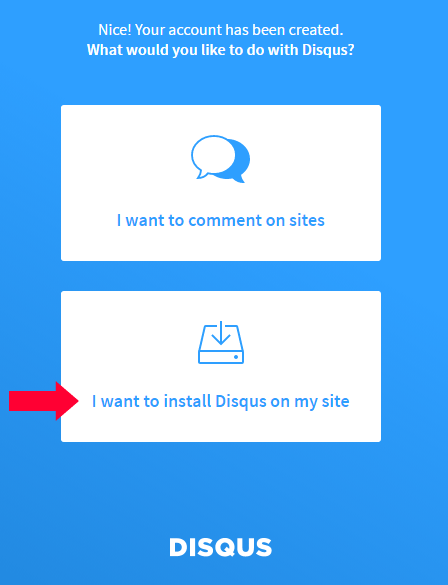
Step 3
Select “I want to instal Disqus on my site”
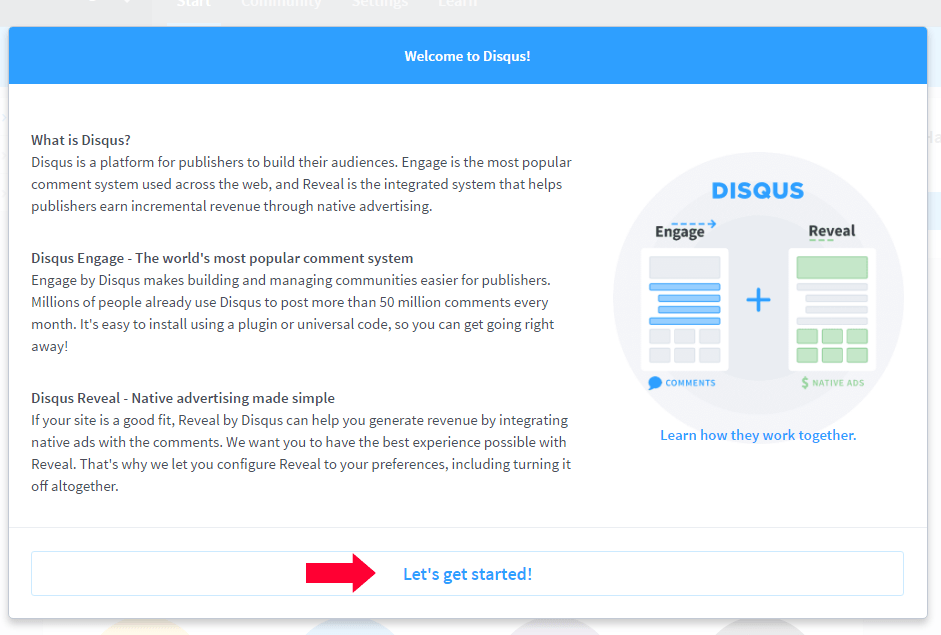
Step 4
Enter your website name and select a category

Begin with the Disqus – XMS Systems integration
Step 5
Step 6
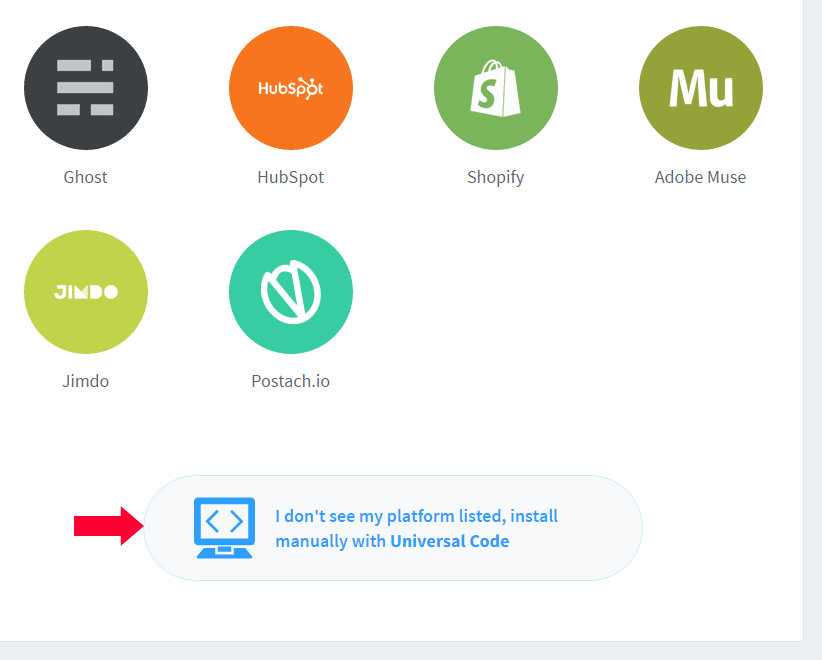
Scroll down to “I don’t see my platform listed...”
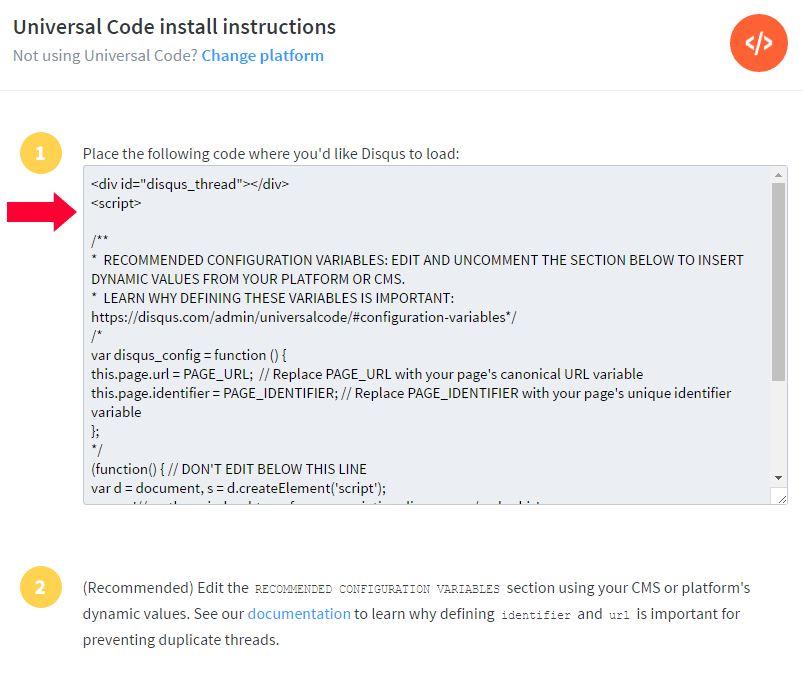
Step 7
Copy the integration code
Step 8
Inside your Administration section navigate to:
Admin > Dashboard > Website Configuration > Social Networking > DISQUS Discussion Tabs
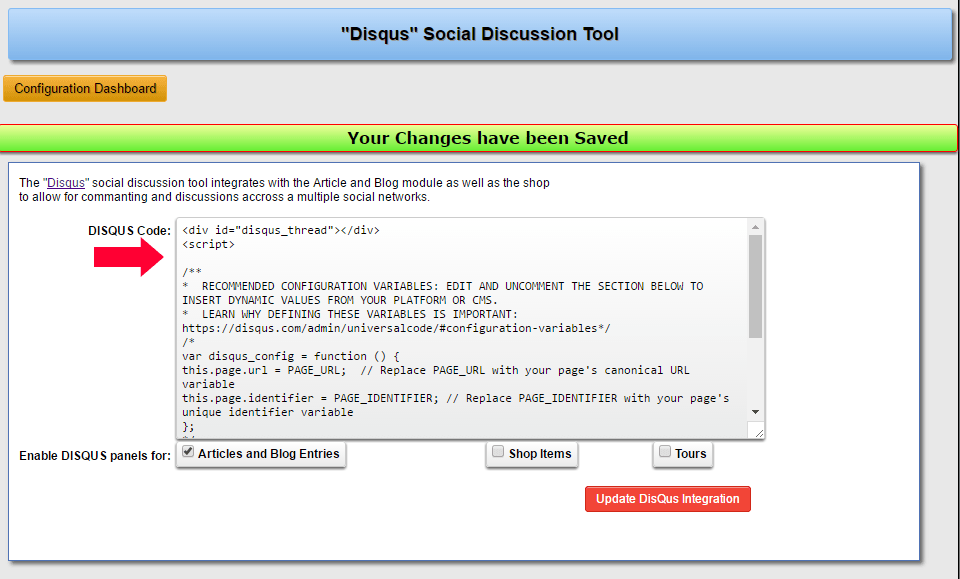
- Paste the code you copied from disqus into the “Disqus Code” field.
- Select the modules you want to display the panel for.
- Click “Update”
Check your integration
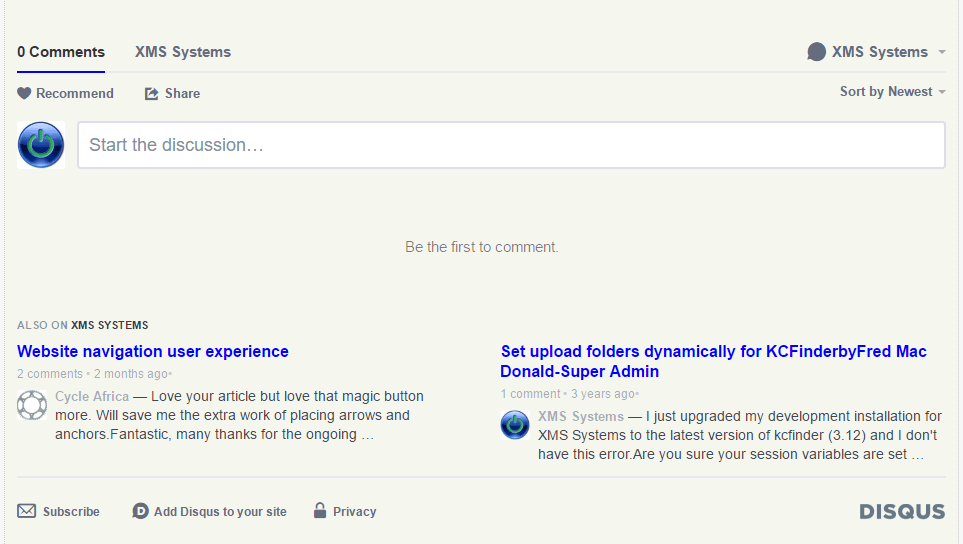
Depending on your global setting for Articles and also each specific article/blog posting, your visitors can now comment on your articles, stock items and tours available.
Depending on your Disqus configuration the integration should display on your chosen modules like the image below.
Configuring Disqus itself is outside of the scope of this article.