Adding events to the scheduler and booking system
Overview of adding and managing events in the scheduler and bookings module
What is a scheduler without anything scheduled on it?
Log in and navigate to Admin > Site Dashboard > Manage Site Content > Scheduler / Bookings
To add an event (or booking) you have two options.
- Click the
 on the date you want to schedule
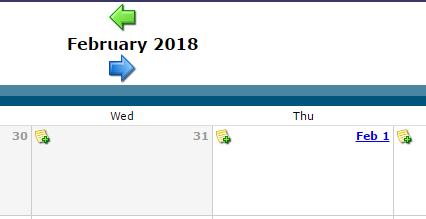
- or change to “List View” to see a list of added events followed by a click on the blue “add new” button at the bottom.

Both options will take you to the same page where you can add your event.
Using the 1st method has the added bonus of automatically adding the “start” and “end” dates for you into the form making it easier to choose the correct dates.
Scheduling an event/departure
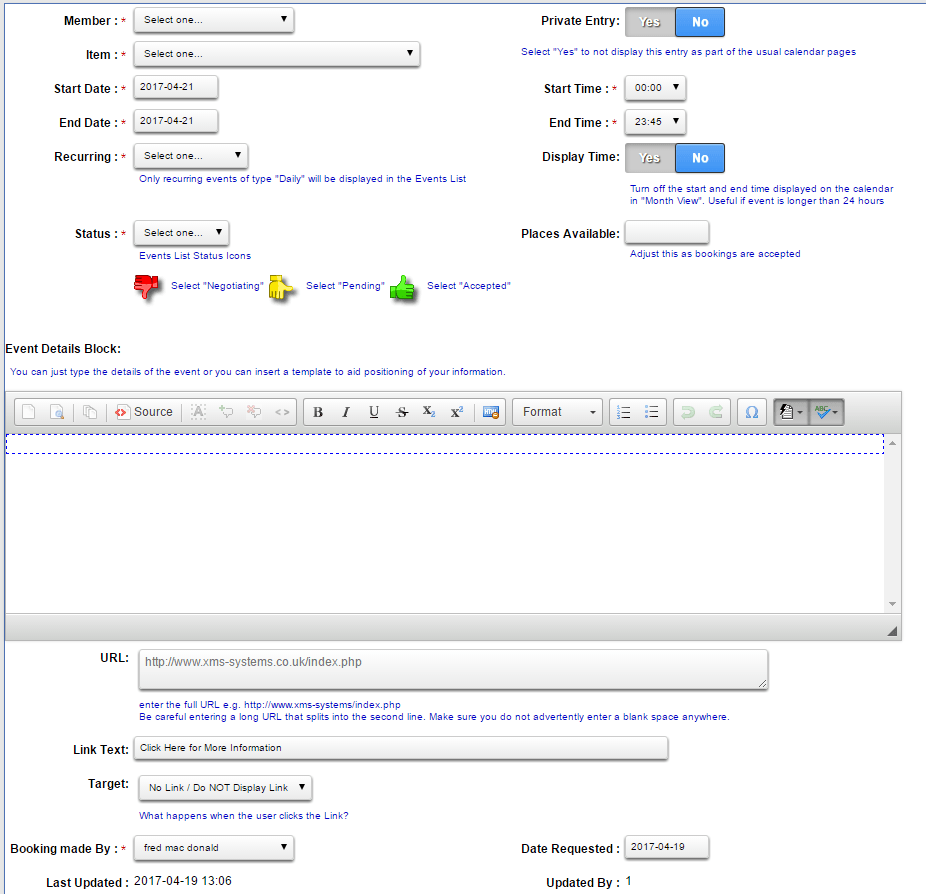
- Member
If the entry is a booking for an existing client, select the correct name from the list. If it is a scheduled event, select the responsible person from the list. Normally yourself - Private Entry
Normally you would leave this to “No”. This is part of a new bit of development we are busy with.
If the scheduled event you are adding is a booking for a “Day Trip”. Set this option to Yes” This will hide it from the normal calendar and only show it on the day trip calendars. - Item
Select the “Item” from the list that this entry represents - Start Date
- Start Time
- End Date
- End Time
- Display Time
Setting this to “Yes” will display the start and end time on the entry. - Recurring
Select how to “repeat” the entry. For anything other than “Daily / Once Only” you will need to set the date the recurring starts on and the date it ends with the appropriate times the booking is valid on the day. You can not schedule recurring events for a duration longer than a day at a time. So only daily events can be recurring, with the start and end dates at least spanning the recurring option.
Note: We have a small bug with the “bi-weekly” option. In some cases it will push the start date into the wrong week. We are investigating this to try and fix the issue - Status
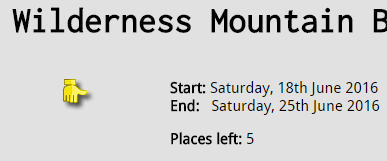
Select the status of the entry. If the entry is to be used on the “scheduled list” selecting “Negotiating”, “Pending” or “Accepted” will display the appropriate icon next to the entry on the list.
- Places Available
If there are limited places available for this event, enter the number of places here. You will need to adjust this as you confirm bookings and available places changes. - Event Details Block
This works like the “usual” content editor but with scaled down functionality. You do not need to start off with a template. The work will be done for you. If you have the need for a specific layout, we are more than willing to “build” a custom template for you. This is useful if you want to add a lot of information.
Below is an example using a “custom” template
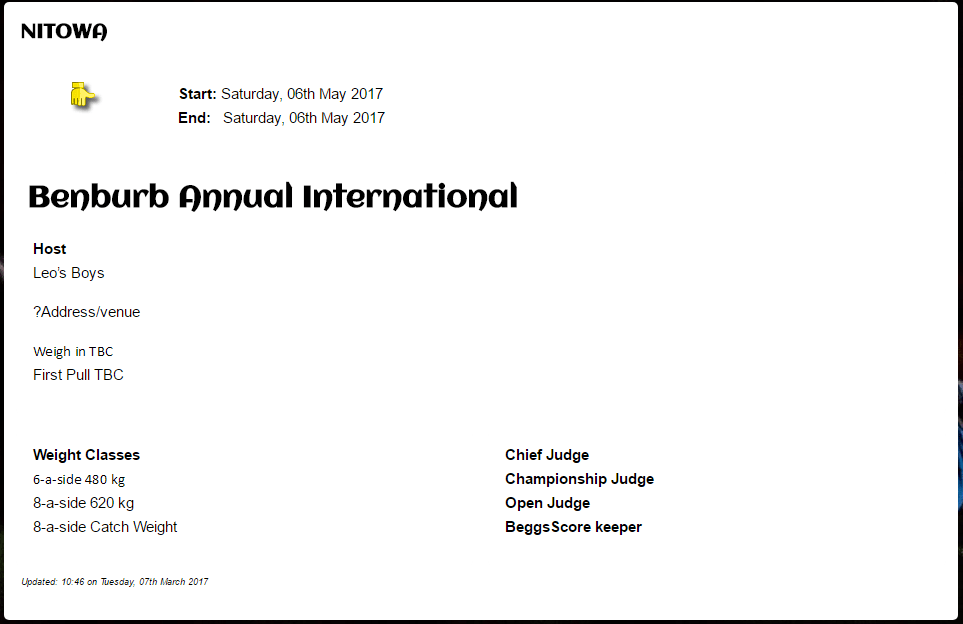
Linking Adding additional information
In some cases you might want to link an entry to something else. Might be your Scheduled Tour details or an article where you announce a sporting event. The following fields will generate a button that will be added to the events list.
- URl
Copy and paste the page you want the visitor to go to when they click the link. This needs to be a “fully qualified url”, this means everything needs to be included starting with the http... - Link text
This will be the text used on the button that will be created for the link. Keep it short and sweet - Target
If the URL you added above is on your page, select “Replace Current Page”. For URI on a different website, select “Open in New Window” - Booking made By
This would usually be you and is only used for internal purposes to keep track of who is adding things to the scheduler - Date Requested
Date the item was requested to be added - Last Updated and Updated By
When the item was last updated and by who
For managing day trips, see the article on adding booked day trips to your scheduler
